CHEAPEST & QUICKEST Zwift Setup
This will be, by far, the quickest and easiest way to get up and running on Zwift in less than 10 minutes.

Zwift used to take a fairly powerful computer to run it since it is, in essence, a 3D game environment, but now that Zwift is available on iPhones and iPads, this has opened up the availability quite a bit as well as made the process to get up and running extremely easy without having to use a computer nor cables.
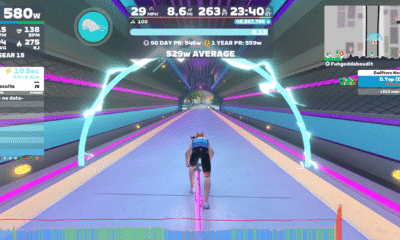
If you don’t know what Zwift is, it’s an online platform for cyclists that allows you to ride in a 3D game-like environment, where there’s a huge online community of cyclists that you can ride with and against. It’s great because it simulates riding in some cool locations along with other riders and it’s much better, and more motivating than watching House of Cards.
Now, this is the absolute bare bones setup and there are many, many things you can do to upgrade your experience which I’ll cover in some follow-up videos, but let’s get this basic setup up and running.
First, you’re going to need a more recent iPhone or iPad. For iPhones, this should be a 5SE or newer or an iPad that was made around or after 2015, so basically the oldest you could use would be the Air 1 or mini 2 and all Pros will work.
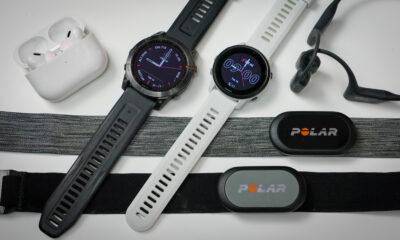
The next thing you’re going to need are some speed and cadence sensors. If you don’t own any sensors yet, I would highly recommend the Wahoo RPM speed and cadence sensor since it has both Bluetooth smart and Ant+, making it compatible with pretty much every device out there.
So we’ll be connecting these sensors to the iOS device via bluetooth smart which eliminates the need for any cables, adaptors and all that nonsense.
If you already own Ant+ speed and cadence sensors, there’s a neat little device that converts Ant+ signals to bluetooth smart called the NPE CABLE and I have a link to that product in the description below.
So of course, you’re going to need your bike as well as a trainer.
The other confusing bit about Zwift is whether you need a Smart trainer or not, and although that is by far a more ideal option, you can totally get away with a dumb trainer like this one. I got this one off of Craig’s List for just $25 and just browsing Craig’s List today, there are many inexpensive trainers for less than $75 just to get started.
By the way, if you do own a spin bike, this can be done as well and I have a separate video coming out that shows that setup which is very similar but the sensor set up is slightly different.
First, let’s actually get Zwift and the sensors set up with your phone so when we mount the bike in the trainer, we can get rolling quickly.
When you open the Zwift app, you’re going to create a new account. I created this brand new one just to show you the exact steps. Enter your name, email and a password and that is it. Super Simple. Agree to the terms of service and then you’ll be immediately prompted to pair your sensors.
If your sensor is already activated, it may automatically pick it up, but if not, click on the Speed sensor button and shake the speed sensor to activate it. Make sure the wheel size matches your bike and select the sensor.
From here, you’ll be prompted to select a trainer. There’s a huge list of trainers here that are made for Zwift but if your trainer isn’t listed, scroll all the way to the bottom to find the Other, Not Listed trainer or you have the option to select rollers.
You may see that it pairs the speed sensor as a cadence sensor but we don’t want that. Choose the cadence sensor if it wasn’t picked up automatically.
Now it will ask for Health data access which will share your Zwift data to the Health app.
From here, it looks like you’re done with the app setup but you also are going to be prompted to enter your gender, height and weight.
Now that we’re really done with the app setup, you can test it by just shaking around the speed sensor to make your self move, but let’s end this ride by pressing the Menu button and get the bike on the trainer and setup with the sensors.
Get your bike installed on your trainer and then let’s mount the speed sensor to the rear hub and then attach the cadence sensor to your crank arm. With the Wahoo RPM speed and cadence sensors, they make it extremely easy to mount using a simple rubber band for the rear hub and then zip ties for the cadence sensor on the crank arm. Spin the cranks and make sure both lights are blinking on both sensors.
So that’s it and now it’s time to get kitted up and get our Zwift on.
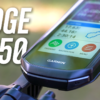
I should also mention that if you’re going to be in front of your TV, you can use Airplay via an Apple TV to get the big screen experience.
Make sure to subscribe for more videos on how to get Zwift set up on a spin bike, more advanced Zwift set ups with power meters, smart trainers as well as the best at home, indoor cycling setup.